How to create a 10-minute quote, look professional and win deals.
Step 1- Create Profile
Let’s set up your profile first. Click here to go into Quote Settings.
Upload your logo, leave blank if you don’t have one and we will use your business name. Address, ABN and Terms and Conditions.
Step 2 – Quote Details
Click here to start a new quote. Fill in some information about your customer. This won’t take long – simply add the basics to your quote template: First and Last Name, Email, Mobile and Address.
Step 3 – New Quote
Let’s get that quote underway, and by the way, you never need to click SAVE as the estimate is automatically saving all the time.
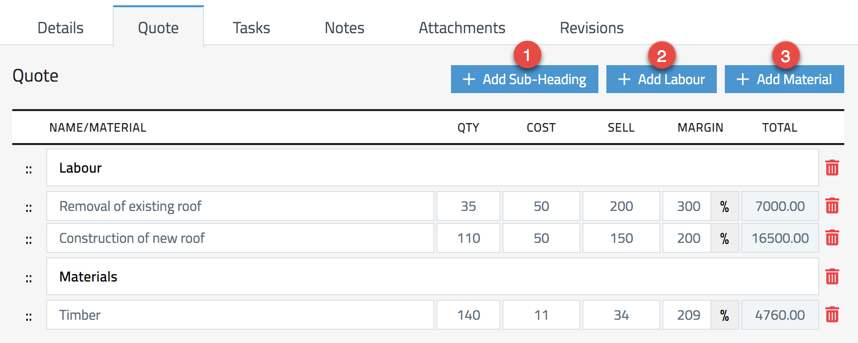
Start by adding a SUB HEADING (1) for example Carpentry, Materials and Labour would make great subheadings.
Add labour (2) and materials (3), quantity, cost price, sell price. The system automatically calculates the margin and totals for you. You can adjust the margin % or sell price and the system automatically updates. Have a look at the example below.
So, you’ve got a few items in there now, looking good.
Just a few tips along the way:
The 4 dots on the left allow you to drag and drop the order of the line items.
If you are providing the labour yourself, just enter 0 into the Cost Price.
You can always check what the quote looks like by clicking Preview at the top.
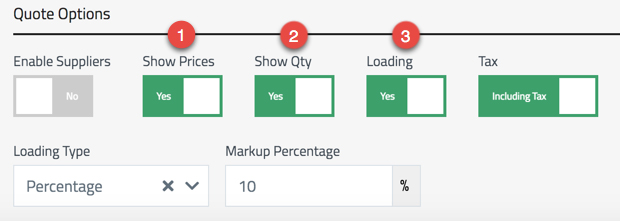
If you don’t want the customer to see the prices, uncheck Show Prices. (1)
If you don’t want the price per item to be shown, uncheck Show Quantity. (2)
If you would like to add a Loading to the quote, this can be a $ amount or % on top of the total. Click loading button to engage this. (3)
You can add attachments to the quote if required. These can be before images of the job for historical referencing.
Step 4 – Check the Numbers
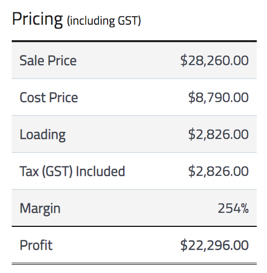
You can always see a live view of how the numbers are stacking up on the right-hand side.
You can edit the status of the quote at any time be clicking the edit icon next to the status.
Step 5 – Send Quote
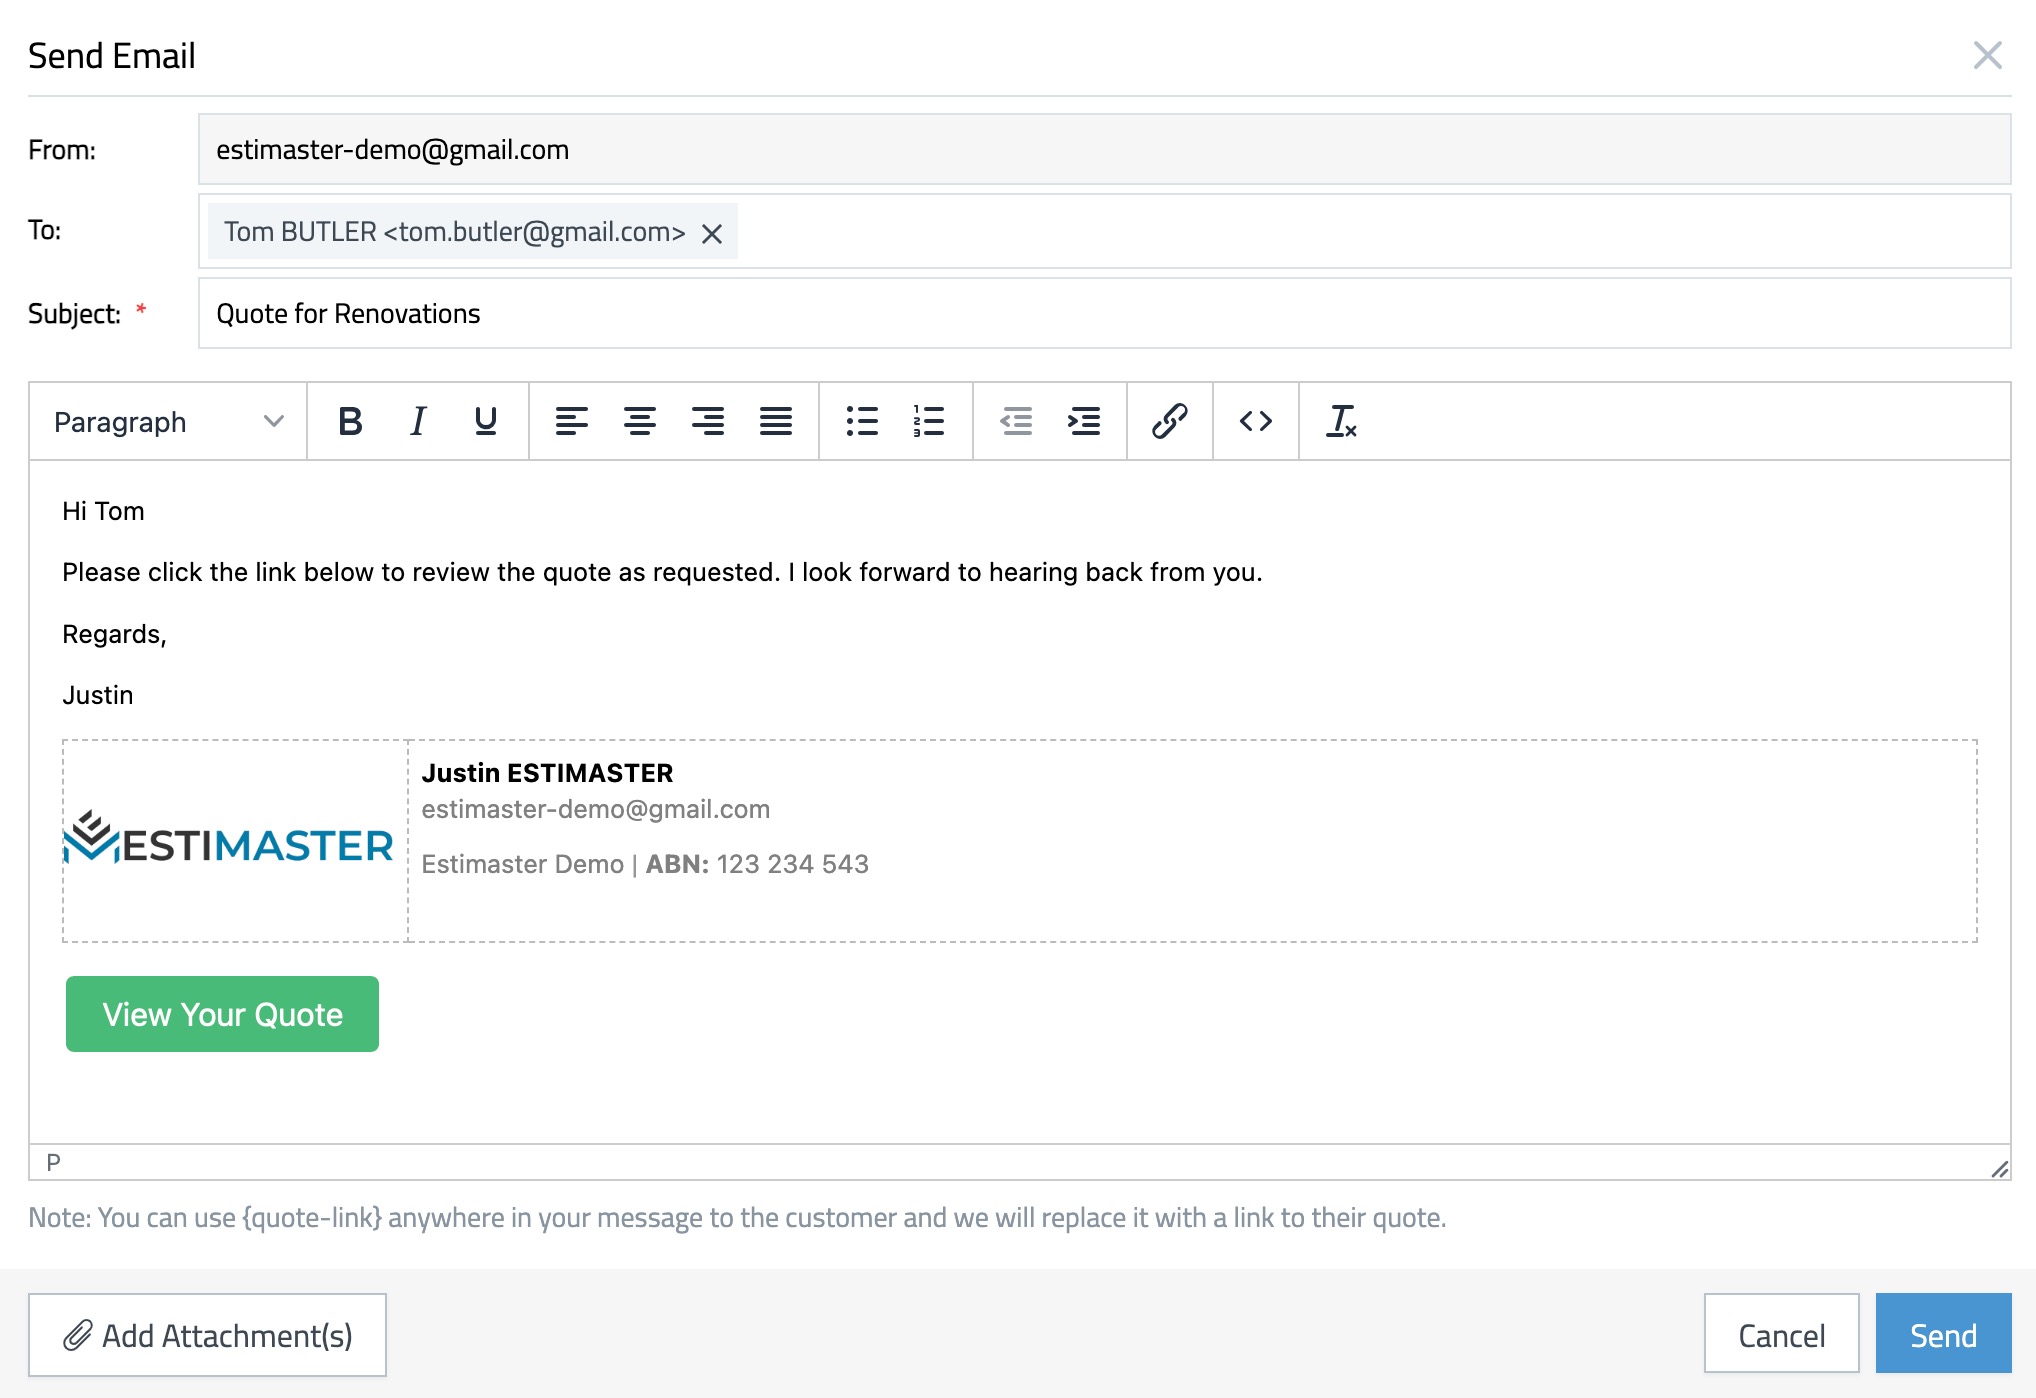
Once you are happy with the quote check it and check it again! Now it’s time to send it to your customer.
Click Send Quote at the top. Enter the Subject (mandatory) and a short message. Click send and away it goes!
Step 6 – Quote Revisions
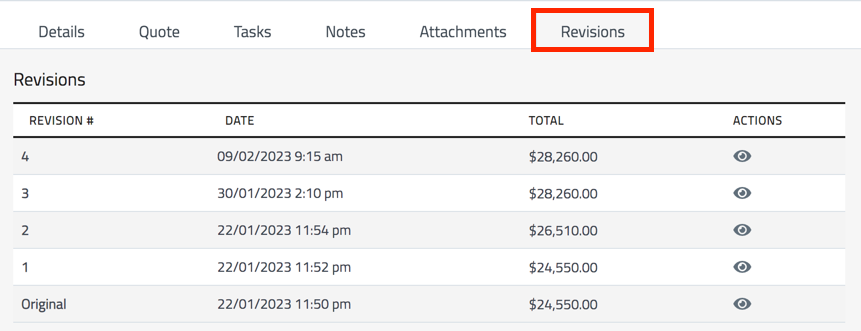
If the quote requires changes and needs to be sent again, open the quote and click Create Revision at the top. This will make a revised copy of the quote and will store this in the Revisions section.
You can always go back and see a previous quote by clicking the view icon (under Actions), as indicated below. Note that this TAB will not appear if you do not have any revisions.
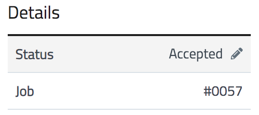
On the quote there is an Accept Quote button. If this is clicked by your customer, then the status changes to Accepted.
Step 7 – Convert to Job
Well done, your quote has been accepted. All you have to do now is click the Convert to Job button and it’s done and is moved automatically to the Jobs section here.
Summary
The Estimaster team is here to help you. We offer FREE training on-site or online for yourself and your team.
Estimaster Mission
Our Esti-mission is to simplify the process of cost estimation for your projects and increase your productivity. You’re getting a software program that was created by like-minded humans who want to make your work-life balance better.
Get in touch and unleash the full power of the Estimaster Quoting System.